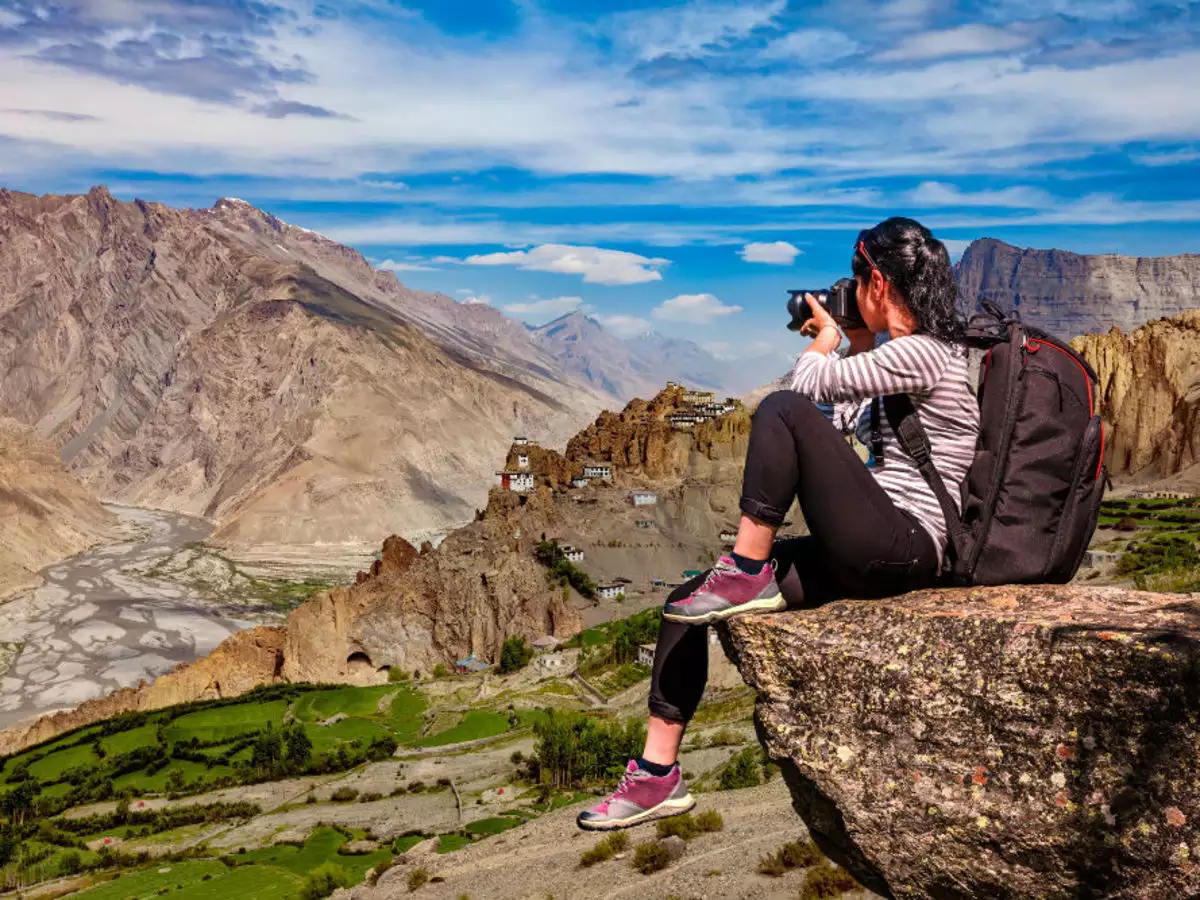
Traveling allows us to experience new places, cultures, and people. How you frame and document your journey is no less significant than the final destination. Travel photography is a complicated genre. However, this creative journey is interesting and rewarding. Understanding the basics of storytelling, composition, and light will help you bring your images to life.
With travel photography tips for beginners provided in this guide, a breathtaking mountain view, a lively street market, or a quiet sunset by the ocean will become captivating and delightful.
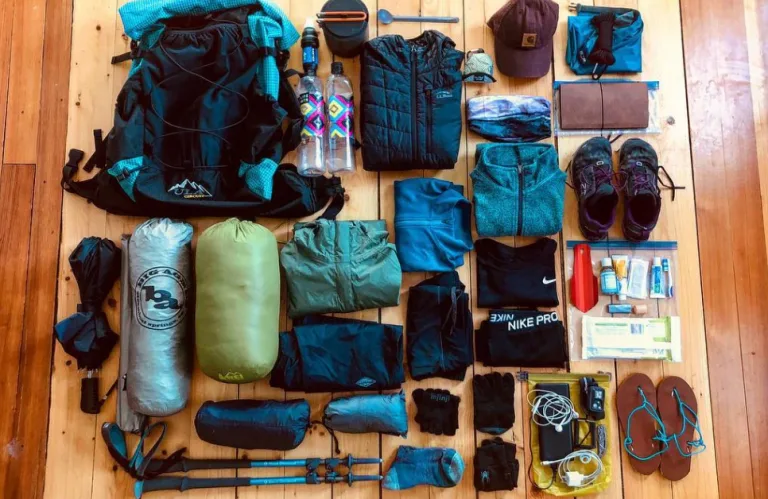
Equipment Selection
Choosing the right gear is important when you are beginning travel photography. The right equipment is usually not the most expensive—it boils down to ease and convenience. You are traveling, so you must ensure the gear is portable and functional: it should be a small, light device.
A mirrorless or portable DSLR with a versatile zoom lens will help capture high-quality images and explore creativity. On the contrary, smartphones are easy to use and carry; often, their cameras are good enough for travel photography for beginners.
Waterproof camera cases and lens hoods will protect your gear. Extra batteries and memory cards ensure you do not run out of storage or power at crucial moments. A small tripod is useful for unpredictable outdoor environments, especially for low-light conditions and group travel pictures.
Last but not least, post-processing software. Refining colors, adjusting lighting, and enhancing details can make images stunning. If you are new to photo editing, select programs with automatic tools, such as a built-in AI face editor, automatic noise reduction, color grading, and exposure correction, to ensure flawless results on the go.
Travel Photography Tips on Composition
Element arrangement within the frame defines the final picture’s mood and appeal. One of the most popular compositional techniques is the rule of thirds. It includes dividing your frame into nine equal segments with four lines and placing the main subject on these lines’ interactions. When capturing a landscape, position the horizon in the upper or lower third of the frame instead of the center. It will provide dynamism and balance.
Natural leading lines provide structure and context. Roads, pathways, rivers, or architectural details can draw the viewer’s eye toward your subject without visual overload. Experiment with natural framing. Use doorways, windows, or natural elements like tree branches for an appealing border around your subject.
Poses, Angles, and Perspectives
Understanding how to take better travel photos with people requires ensuring the models feel comfortable within the frame. Small adjustments in posture, angles, and lighting can make a big difference. Learning how to be photogenic does not always mean strictly directed poses. Candid expressions and authentic movements, in combination with unusual angles and unique perspectives, can spark visual interest and appeal to the viewers’ emotions.
Angles add range to your shots, making the story and overall photos more interesting. Wide shots allow you to establish context when telling a story: it could be anything from the entire market scene to a beautiful mountain view or even just a street full of people. Next, zoom in for details. Look for textures in artisan products, or chefs’ hands at work, the details on an old door. Finally, focus on people and their expressions.
Avoid shooting from the eye level all the time. Elevated viewpoints can provide unusual perspectives on popular travel landmarks. Low angles add drama and make subjects look powerful and majestic. They are especially good for architecture shots.
Lighting Tips for Remarkable Shots
When traveling, you often have to work with whatever conditions nature provides. Ambient illumination is the best for most photography genres. However, it cannot be fully controlled or adjusted to your specific needs. Travel photography also includes time limits, so postponing your photo shoot to catch the best light for reshooting an unappealing frame is not always an option. That is why a travel photographer needs to know how to make the most of natural light despite the challenges it provides.
Hours after sunrise and before sunset provide a warm and even glow. Midday sun introduces harsh shadows and striking contrasts. Many photographers avoid midday lighting because of potential exposure issues. However, it can be used creatively to add depth and drama. For instance, backlighting (positioning the sun behind your subject) creates a natural rim light effect. Cloudy days are perfect for capturing architecture and cityscapes. Diffused sunlight and low contrasts will let you focus on intricate architectural details.
Conclusion
Travel photography can seem daunting, yet with time, tenacity, and a knack for visual narratives, one’s travels may come to life in pictures. Discerning structure, relying on natural luminance, and altering perspectives can assist in capturing emotions, specifics, and fleeting occurrences that define each escapade. Prolonging transient impressions demands the presence of mind, active observation, and preparedness to chronicle unfolding glimpses. Meanwhile, illuminating experiences through striking angles presents opportunities to immortalize memories uniquely.